Have you ever wondered if a simple writable surface could change the way your family lives in a room? I’ve spent years helping clients reimagine blank walls and tired corners. A chalkboard is my go-to for adding personality and function without big renovations.
I’ll walk you through using a chalkboard in kitchens, entryways, and entertaining zones. You’ll learn when to pick the right paint and when a bold accent wall beats a subtle touch.
We’ll cover small upgrades—like turning a vintage frame into a writable surface—and larger statements that become a living canvas for weekly rhythms. I share client-tested tips for crisp lettering, smart placement, and easy cleaning so the piece stays useful.
This guide is for renters and homeowners alike—practical, budget-friendly moves you can start today. By the end, you’ll know exactly where a writable surface will make the biggest impact in your place and how to implement it with confidence.
Key Takeaways
- Small writable accents can add big personality without major work.
- Choose the right paint and finish for longevity and ease of cleaning.
- Vintage frames make charming, budget-friendly writable surfaces.
- Balance bold walls with practical placement for everyday use.
- Simple lettering and seasonal styling keep the display curated, not cluttered.
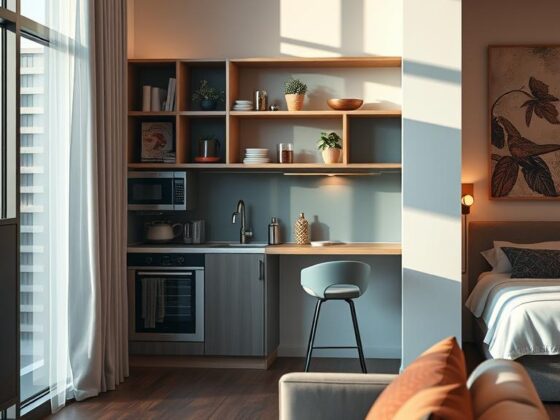
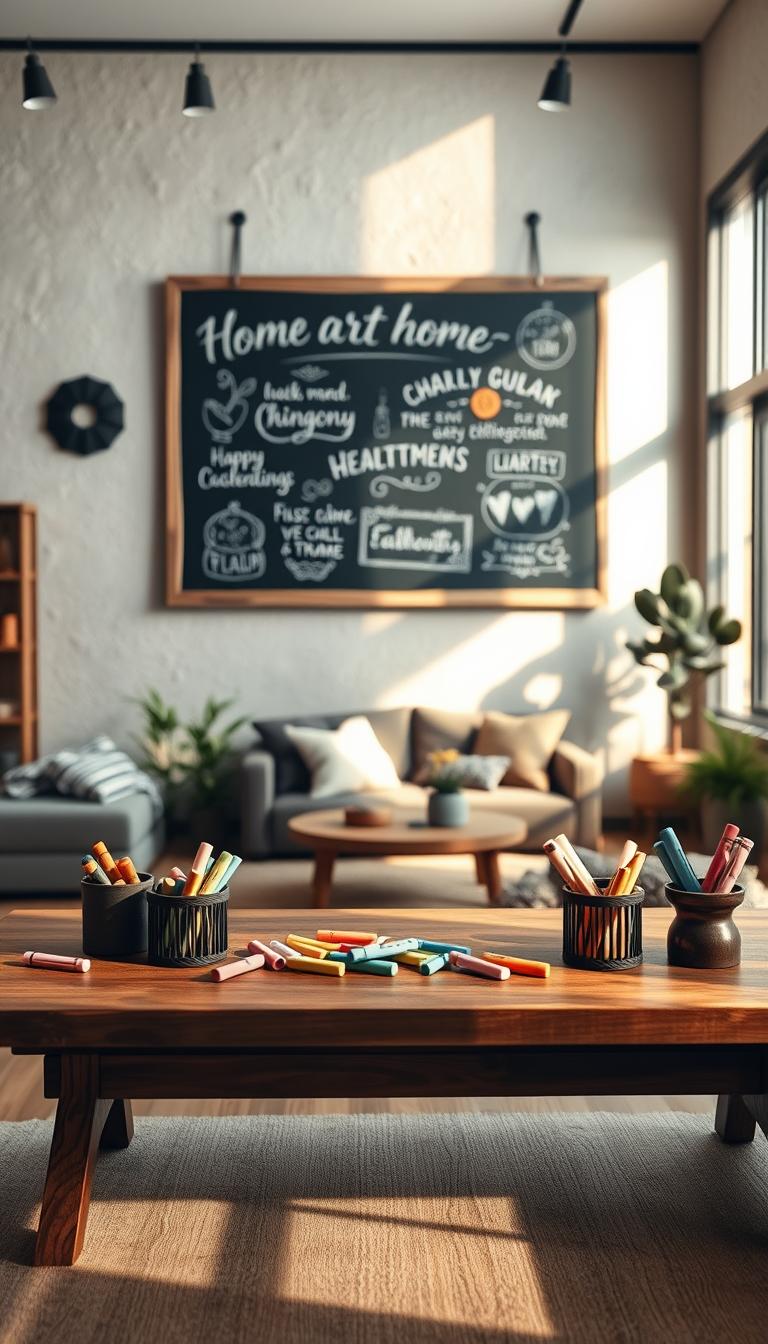
Kitchen Chalkboard Inspiration: Walls, Backsplashes, Cabinets, and Coffee Bars
A single writable panel near the prep area keeps grocery lists, recipes, and kid art within reach. I start clients here because it’s low-commitment and high-impact.
Small changes make routines easier. Mount rails, hooks, and a narrow ledge above the surface to store utensils, planters, and chalk. That keeps the zone tidy and useful while encouraging everyone to add notes.
Walls, backsplashes, and cabinet surfaces
Use a chalkboard wall by the prep zone for meal plans and quick recipes. A slim backsplash strip behind the range works as a rotating menu board and refreshes in minutes.
Brush chalkboard paint on the inside of a cabinet door for secret calendars. Barn-style pantry sliders finished the same way combine storage with a writable command center right where you plan meals.
Coffee bars, spice storage, and mini herb gardens
Frame a small board above your coffee bar as a house menu. Add magnet spice tins on a metal panel and label jars with chalk tags for a neat, functional display.
| Spot | Material/Finish | Benefit |
|---|---|---|
| Prep wall | Matte writable paint | Easy lists, kid drawing area |
| Backsplash strip | Sealed chalkboard panel | Rotating menu, heat-safe when sealed |
| Cabinet door inside | Brush-on paint | Hidden planner, grocery list |
| Coffee bar wall | Framed board + rails | Menu display, clips for notes |
Pro tip: tape crisp borders, apply two light coats of paint, and add a slim ledge so chalk and cloths are always handy.
Entertaining with Chalkboards: Fall Cider Bars, Dessert Stations, and Mantels
Entertaining gets easier when a writable backdrop sets mood and direction for guests. For a fall cider bar, I hang a simple wreath over a chalkboard and add tiny florals. A hand-lettered “Cider, Anyone?” and sketched apples make the display feel cozy before anyone pours a cup.

Outdoor dessert nights look charming with a repurposed door used as a menu sign. I write the sweets at eye level, add an arrow, and bring the door inside after the party to protect it from moisture. This way the piece lasts longer and photographs beautifully.
On the mantel, layering a wreath over a framed board adds instant depth. Move that same arrangement between rooms and it reads fresh each time. Small chalkboards also work great as cheese labels—guests appreciate the easy clarity.
- Quick setup: keep a clean header, short list, and a tiny sketch for legibility.
- Pro tip: blend chalk with your finger for soft shadows on leaves and pumpkins.
- One favorite party trick: swap a wreath or ribbon and the whole vibe changes without new purchases.
Repurposed Frames, Doors, and Furniture That Make a Statement
Old frames, doors, and furniture have a second life waiting—if you know the right way to swap in a writable surface.
I hunt thrift stores for ornate frames and vintage finds. A carved frame or simple frame looks luxe when you replace the glass with thin plywood and a coated finish.

Plastic frames aren’t a throwaway. With a good primer and paint they mimic carved wood at a fraction of the cost.
Replace a dresser mirror with plywood to make a tall entry board. Old cupboard or cabinet doors work wonderfully—the routed edge reads custom and needs almost no carpentry.
Fun convert: headboards, crib rails, and drawers become coat racks or menu pieces with a few hooks and a fresh surface.
Finish tip: use brush-on paint for furniture—three light coats, sand between layers, then let it cure for durability.
| Source | Best Use | Finish Recommendation |
|---|---|---|
| Ornate frame | Framed sign or entry menu | Thin plywood + durable coating |
| Cabinet door | Memo board / magnet rack | Seal edges, brush-on paint |
| Dresser mirror replaced | Tall menu or hallway piece | Lightweight plywood, secure to studs |
| Table or desk top | Kid workspace or dining surface | 3 coats paint, sand, cure |
I mix frames, doors, and small furniture so a room reads collected, not matchy-matchy. One small piece can change the side of a hallway or the mood at a table.
This idea is simple, low-cost, and endlessly useful—try one and see how a repurposed piece brightens the room.
Chalkboard Ideas
A gilded frame from a flea market becomes a practical statement when paired with a painted panel. I often pull mass-produced art from thrift stores and swap the print for thin plywood. The ornate trim stays; the piece becomes a useful sign in minutes.

Make a chalkboard from old art or a gold frame
Keep the vintage frame and cut a board to size. Paint it with a durable finish and mount it back in the frame.
Fast flip: use a staple gun or small brads to secure the panel. It reads luxe but costs little.
Mini boards for labels, tags, and parties
I keep a stack of mini signs for cheese labels, drink tags, and place markers. They wipe clean and store flat to avoid warping.
- Pair a vintage frame with clean, sans-serif lettering for contrast.
- Label fridge baskets so you can swap “snacks” to “school lunches” in no time today.
- Keep a fine-tip chalk pen for names and a stick for big headers.
Organization Wins: Pantry, Refrigerator, and Command Centers
Make the back of a pantry door your weekly command post—a skinny, high-impact surface everyone can read at a glance. I use that tall column for a grocery list, a menu plan, and a simple chore chart so the whole family knows the week’s flow.

Small moves, big payoff. Slim rails and hooks beside a panel hold measuring spoons, keys, and scissors. Visual order cuts the morning scramble and keeps utensils handy where you cook.
Clip mini boards to refrigerator baskets to label what’s inside—swap “leftovers” for “fresh fruit” in seconds. No sticky residue, no wasted labels; just quick, flexible storage that adapts with groceries.
Near the entry, mount a narrow board with a mail pocket and hooks. It becomes a compact command center for backpacks, leashes, and schedules without eating floor space.
- Color-code chores with different chalk colors so each person knows their place at a glance.
- Combine a monthly grid with a notes column and leave a blank area for quick lists.
- Use a cupboard interior for private reminders—gift lists or medication schedules stay out of sight.
“Clean weekly with a damp cloth to reset visual clutter; a fresh surface makes the system feel useful again.”
For how I set up a compact, family-ready station, see this simple family command center for more inspiration: simple family command center. It’s a small change that saves time every day.
DIY Chalkboard Paint, Techniques, and Pro Tips
A few smart prep steps and the right paint make all the difference for a smooth finish.

Brush-on vs. spray: reach for brush-on chalkboard paint for walls and furniture. It’s more durable for high-traffic spots. For tags, mini-labels, or many small pieces, spray saves time and gives an even coat.
Mix your own and prep like a pro
To make chalkboard paint, mix 1 cup latex paint with 2 tablespoons unsanded grout. Thin with a splash of water if needed. Alternatively, blend a plaster of Paris paste into paint for fewer lumps.
Application steps and curing
Degloss glossy surfaces, fill holes, and vacuum dust. I use a foam brush for frames and doors—it lays down a fine finish.
- Apply three light coats: side-to-side, then top-to-bottom, then side-to-side again.
- Sand lightly between coats to level the film and prevent streaks.
- Let the board cure 2–3 days, then season by rubbing chalk on its side across the whole surface and wiping clean.
Crisp lettering and finishing tricks
For sharp lines, dampen chalk or use a chalk pen. Tape stencils for repeatable borders or use chalk paste for detailed motifs.
“One favorite technique: add a soft shadow line offset from letters for instant depth—no fancy skills required.”
| Task | Recommended Product/Tool | Why it helps |
|---|---|---|
| Large wall | Rust-Oleum can + foam brush | Durable finish, even coverage |
| Small tags/mini boards | Spray chalk paint | Fast, smooth coats for multiple pieces |
| DIY mix | Latex paint + unsanded grout | Budget-friendly, customizable tint |
Maintain with a soft, damp cloth and re-season occasionally. That keeps the surface rich and avoids the cloudy gray haze that steals contrast over time.
Conclusion
Finish with one small change that makes daily life smoother—pick a spot that sees real use and start there.
I recommend one clear idea: choose a kitchen wall, entry strip, or party corner and make it work for your routine. Layer seasonal touches for fall—wreaths and simple menus add instant warmth.
Repurpose before you buy. Old frames, doors, and drawers are full of character and keep great pieces out of the landfill.
Remember the method: prep well, apply three light coats, cure, and condition so marks erase cleanly. Keep a tiny kit—chalk sticks, a fine pen, and a microfiber cloth—nearby to make updates effortless.
Enjoy the process. This post is your nudge to experiment. For a tidy wrap-up slide, see a concise conclusion slide template.